1. Tools of the trade
Most of the materials that the Impressionists used are still being used today and are available at most art supply stores.
The basics
You can get started for about £50/$80. At a minimum you will need:
(1) Gouache paints. Whilst the impressionists principally painted using oil paints, you can start out using gouache (a thick water-based paint). At a minimum, you will need four colours: titanium white, cadmium red, cadmium yellow, and cobalt blue*. But you can purchase starter sets with 8 x 60ml tubes of a variety of different colours for about £35 ($50).
(*As a beginner, you might want to stick to the three primary colors. From these three, you can produce the full colour spectrum. As you probably learned in elementary school, red, yellow, and blue are primary colors and when two primary colors are mixed, they create secondary colors, e.g., red + blue = purple, blue + yellow = green, and red + yellow = orange. Tertiary colors are formed by mixing a primary color with a secondary color, e.g., red/orange. The Impressionists did not use black oil paint or any clear glazes.)
(2) A plastic palette - on which you can mix your paints. They can be bought for £2-3/$4-5.
(3) Brushes – you can start with acrylic brushes, rather than splashing out on hog bristle. We suggest starting with a short flat brush, a long flat brush, and round sizes 4, 8, and 3. Starter sets of brushes can be bought for about £10/$15.
(4) Paper. You don't need to buy a canvas when you are first starting out. But make sure that you buy the thickest artist's paper that you can find (a minimum of 150 g/sm). The paper is still likely to bend a little when large quantities of paint are applied to it.
An A4 artist's book of high-quality paper can be bought for about £10/$15.
Once you have found your feet
Want to take things to the next level? Then you will need some more kit.
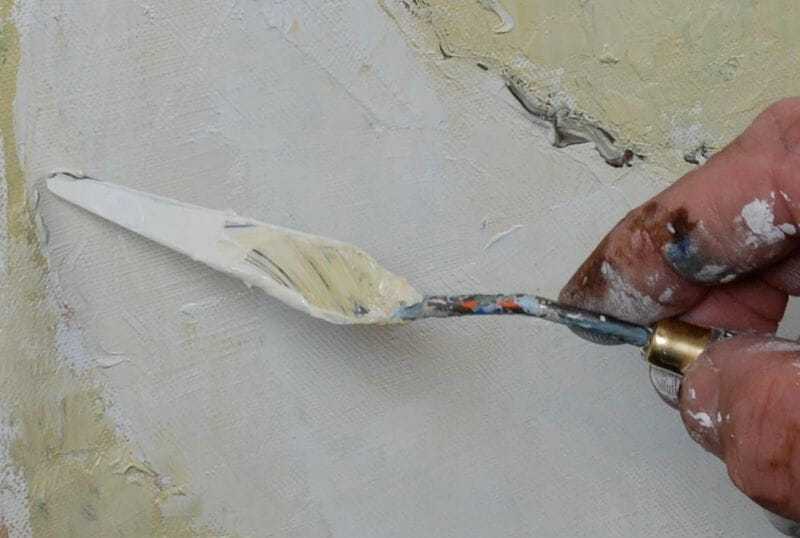
Palette Knife
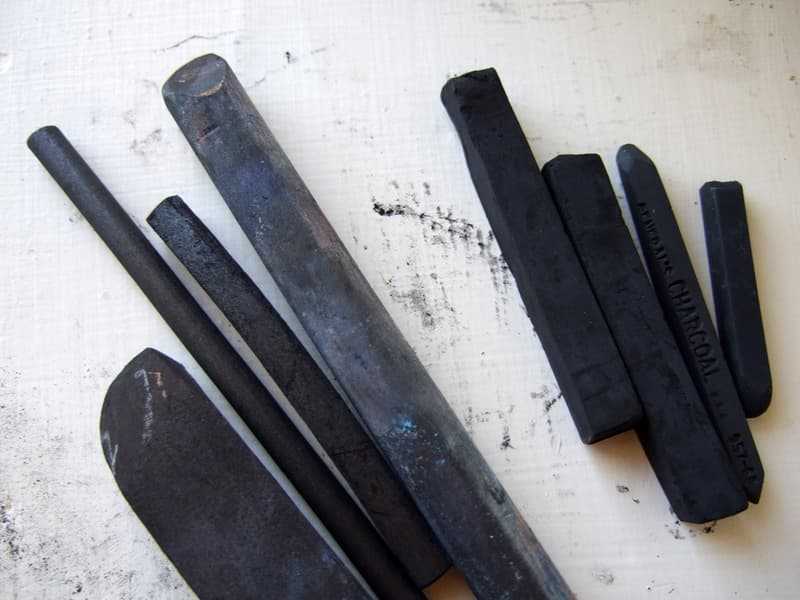
Charcoal sticks - the Impressionists often made a quick sketch of what they wanted to paint.
Pre-primed canvas (12” x 12” or small enough to be easily carried)
(If you can only find an unprimed canvas, you will also need some gesso. You will need to apply at least three coats of gesso to the canvas with a large inexpensive utility brush. When the surface dries, lightly sand away any rough spots. Cover the white canvas with a light paint, preferably light yellow. This will lessen the glare on the white surface.)
An easel - a foldable box that contains a section to hold the canvas, drawers for paints.
An easel stool - This is optional. The Impressionists preferred standing up.
A large brim hat - This is optional. The Impressionists wore them to guard against a glare from the sun.
Miscellaneous - sunscreen, insect repellent, bottled water, red wine!
2. The technique
The Impressionists had different techniques. They all started out studying realistic painting as defined by the academies, but they became disillusioned and shifted to impressionism.
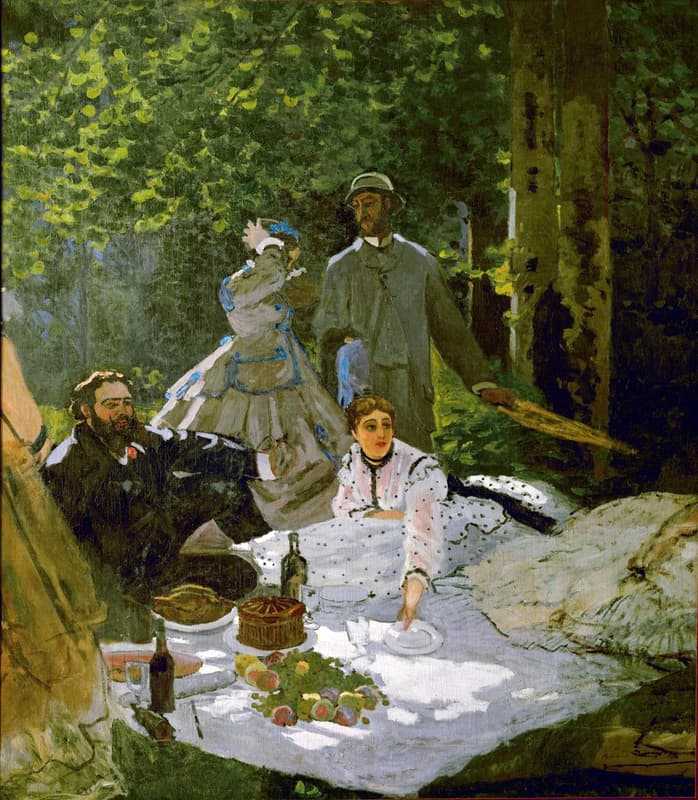
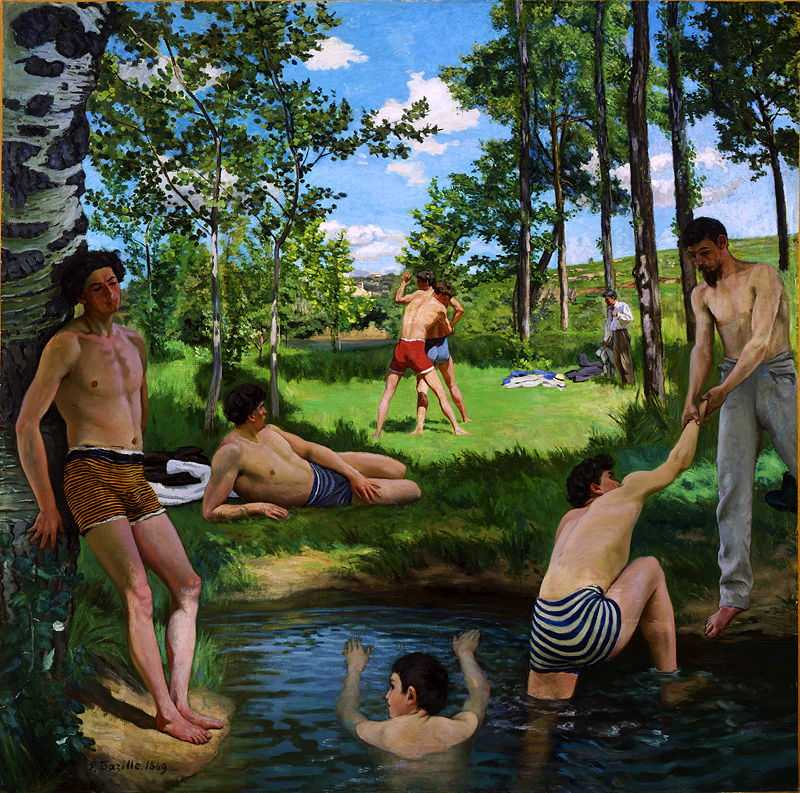
Some combined the two. Frederic Bazille was a peer of Monet, Sisley, and Renoir. He died in the Franco-Prussian War in 1870 and didn’t get a chance to help advance the Impressionistic Movement. In his painting, Scene d’ete, the human figures were drawn in his studio and then he painted the background en plein air.
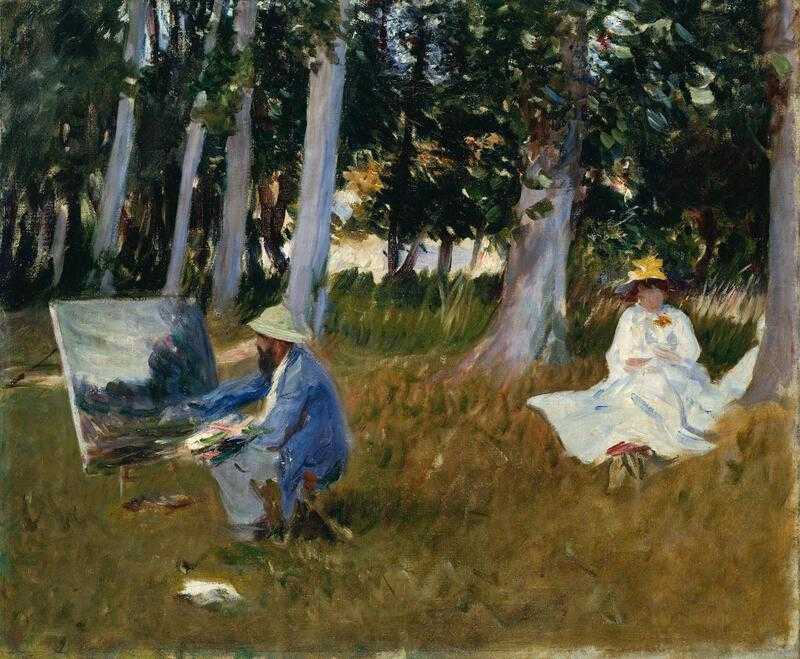
However, for the most part, the Impressionists began and finished their paintings outside and reportedly finished a painting in one day. If you want to recreate their works, here's a seven-step plan.
The Seven Steps
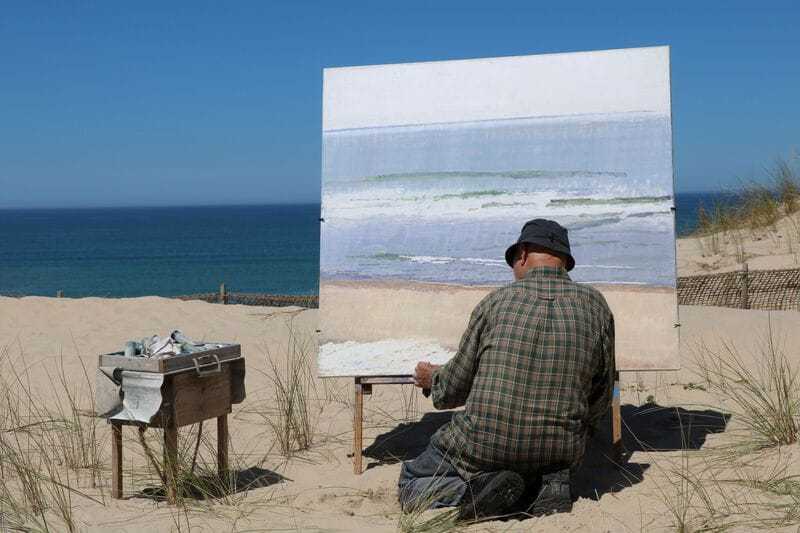
Step One – Try to choose the right subject matter. Decisions need to be made as to where to go, what to see, and what time of day. The time of day will determine the lighting conditions. It need not be a grandiose endeavor. A scene in a park, garden, beach, lake, etc. is perfectly acceptable. Light was important to the Impressionists.
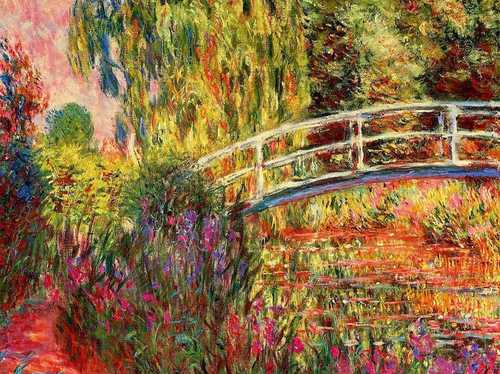
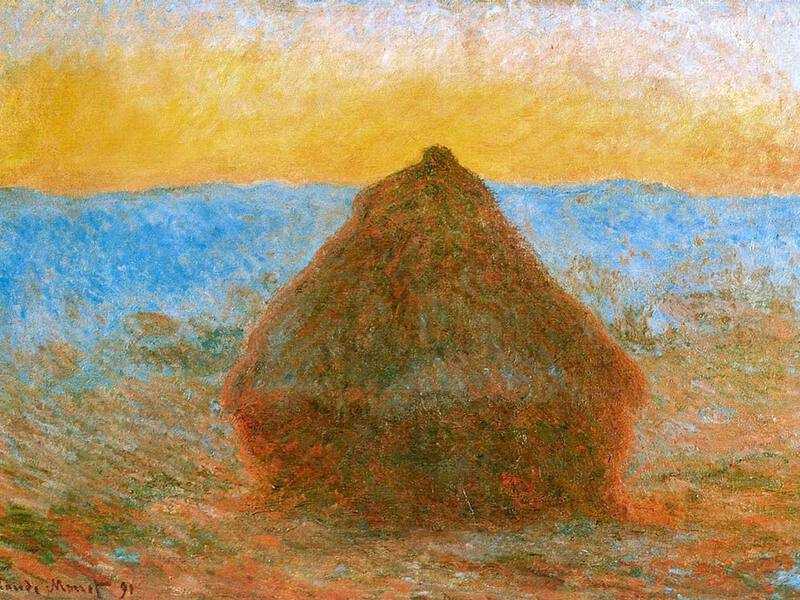
Monet was fixated with light. He painted a series of water lilies and haystacks at different times of the day to capture the changing light. He loved sunsets and twilight. To him, this time of day provided the dramatic light that he relished.
Step Two – Use your charcoal stick to lightly block in your composition. Draw basic shapes and keep it simple. Have some idea as to where you want everything to go. Avoid trying to include everything. If something is not essential, leave it out.
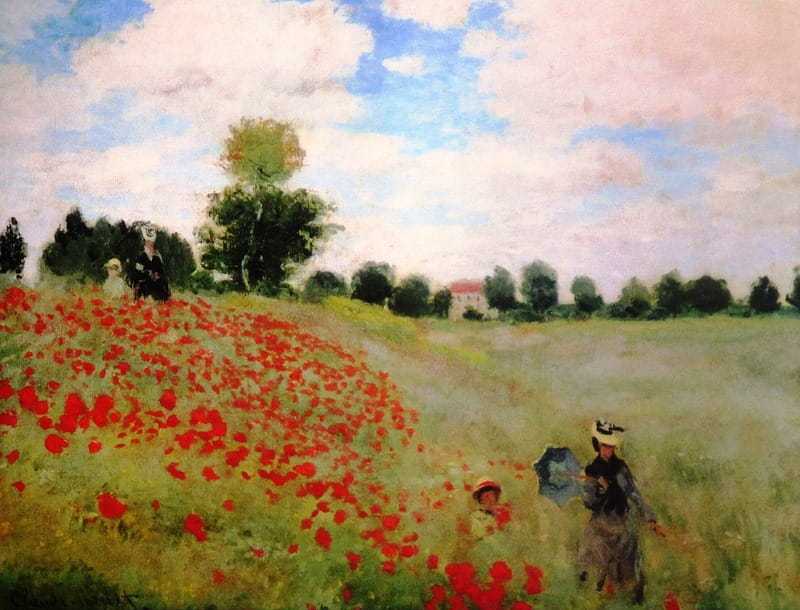
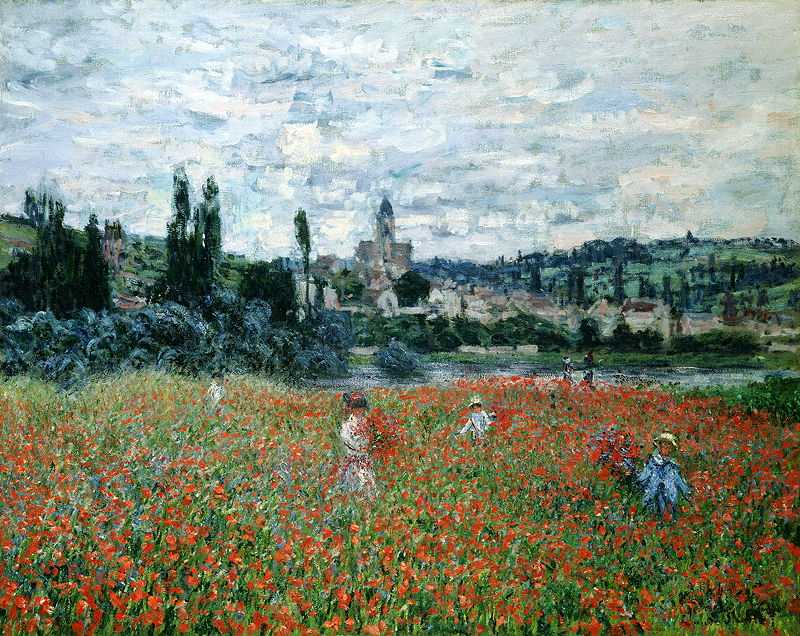
In Monet’s painting, Red Poppies at Argenteuil, the composition is easily discernible. The canvas has been divided into two sections and the bottom section has been divided into two parts.
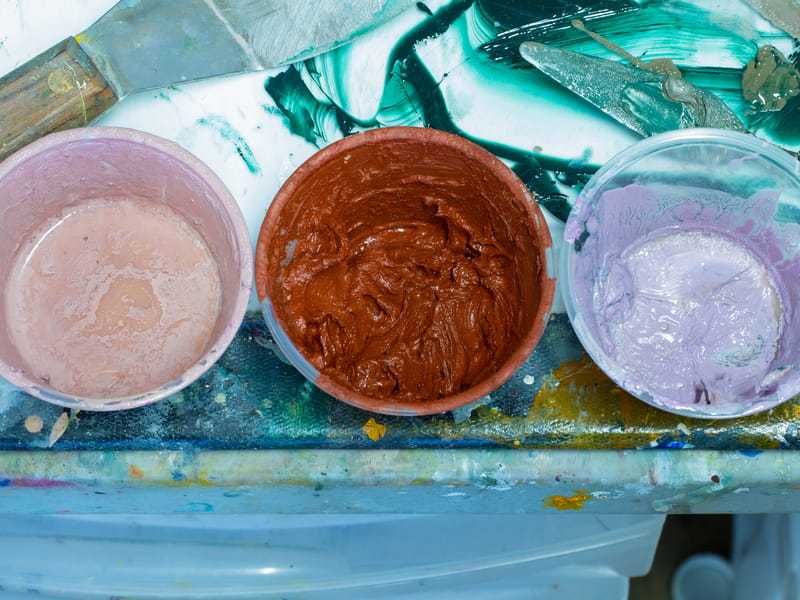
Step Three - Squeeze each color onto your palette. The Impressionists mixed their colors on the canvas rather than on the palette. This saved a step, but is better avoided for the novice.
Step Four – Begin with the sky. Skies are not a bland blue. Use a large brush and move the brush across the canvas with dash strokes. Use different colors and allow the bottom color to ‘peak through.’ Dash strokes or hatching (closely spaced parallel lines) will enable the eye to see purple tones when red is painted over blue, or orange tones when red is painted over yellow. This is often referred to as ‘broken color.’
Do not blend the colors on the palette. Your colors will ‘optically’ blend together when viewed from a distance. Pile one color on top of the other. Your palette knife can also be used to add texture. In Monet’s painting, Twilight in Venice, you will notice myriad broken colors.
Step Five – Work on the bottom section of the canvas. Grass is not a bland green. Using the same approach, use your blues, reds, and yellows. Notice the composition and the treatment of the grass in Monet’s The Cliff Walk – Pourville. The dark colors are made by mixing the three colors together. Once again, use a large brush and crosshatch (lines placed at an angle to one another). Another excellent treatment of grass is seen in Camille Pissarro’s Bazin Court – Sunset.
The grass is a mixture of cool (blue/green) and warm (red/orange) colors. In your painting, choose a dominant color and then accent it. In Pissarro’s painting you will notice that blue is the dominant color. Also, notice the shade areas. They’re blue as well.
Step Six - Painting objects (people, trees, flowers, boats) can be intimidating. The good news is that the Impressionists were not concerned with details in their paintings. Their intent was to give an ‘impression’ of the object.
Notice how Monet handled painting the trees in Red Poppies at Argenteuil. They’re very simple. Also, the details of the two figures in the middle ground and foreground are not discernible. The eye is drawn to the red poppies (the title of the painting). The ‘impression’ of poppies is achieved by ‘stippling’ (small dots). It should be noted here that Monet’s treatment of the poppies should not be confused with Georges Seurat’s technique of ‘pointillism.’ He was a ‘post-Impressionistic’ painter. Also, Vincent van Gogh used bold strokes, but, he, too, was a ‘post-Impressionist painter.’
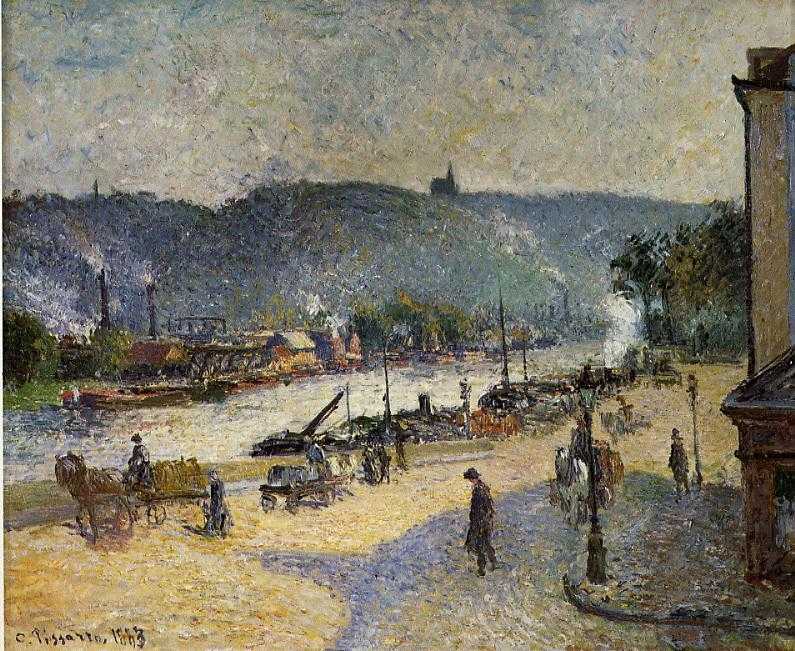
The figures in Camille Pissarro’s cityscape The Quays at Rouen are not detailed drawings. Once again, an ‘impression’ of a person is painted. Berthe Morisot’s painting, Wheat Field, is another example of how figures can be treated. They are not stick figures, but rounded or elongated forms.
Step Seven – Step back from your painting and study it. Ask yourself if you’ve captured the light or does the painting draw you in. If you’re satisfied, give your work a title. This helps the viewer.
3. A final word
Depending upon whether one is a masochist or a glutton for punishment, some paintings can be downright painful to view.
When this happens, an art museum goer will usually shake his or her head and say, “I don’t understand art, but I know what I like.”
The impressionists created a model for freedom and subjectivity that promoted artistic freedom.
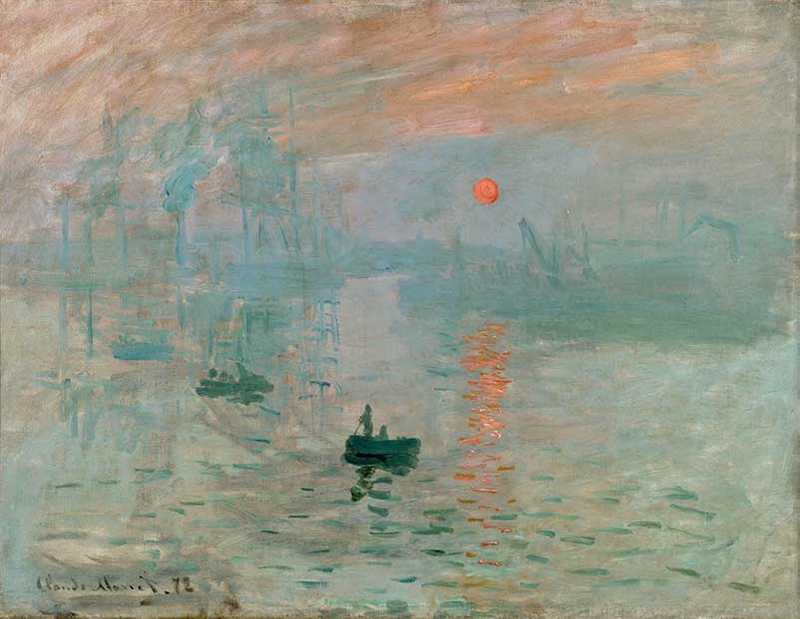
Their goal was to get the viewer to ‘feel rather than understand.’ Louis Leroy was the art critic who originated the word ‘Impressionism’ when he saw Monet’s painting, Impression – Sunrise, in 1874, depicting a Le Harve port landscape.
He coined the term because he felt that the painting submitted by Monet was not carefully composed or life-like, in keeping with tradition and the Parisian taste.
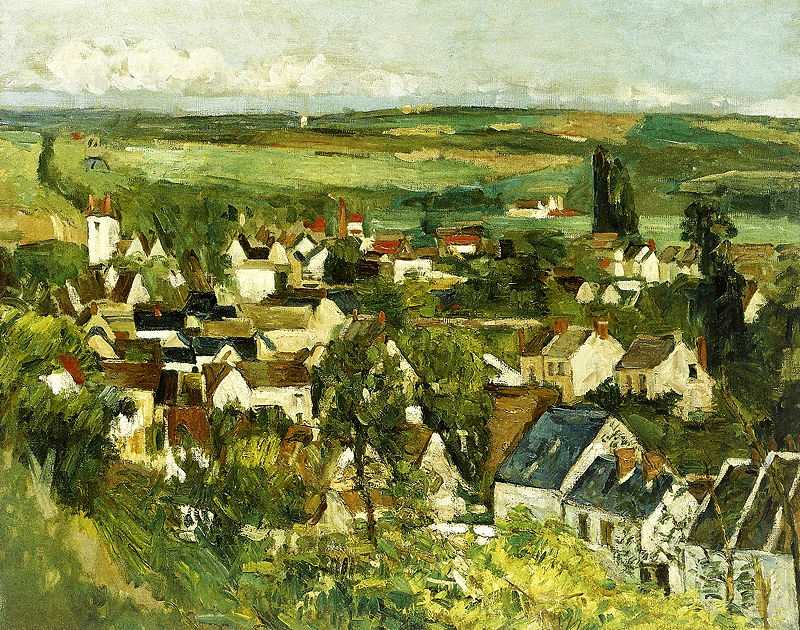
You can become ‘proficient’ in your endeavor to paint like the Impressionists, but it will take time and practice to become ‘good’ at painting like the Impressionists. In the meantime, as Paul Cezanne states,
“Don’t be an art critic, but paint, there lies the salvation.”